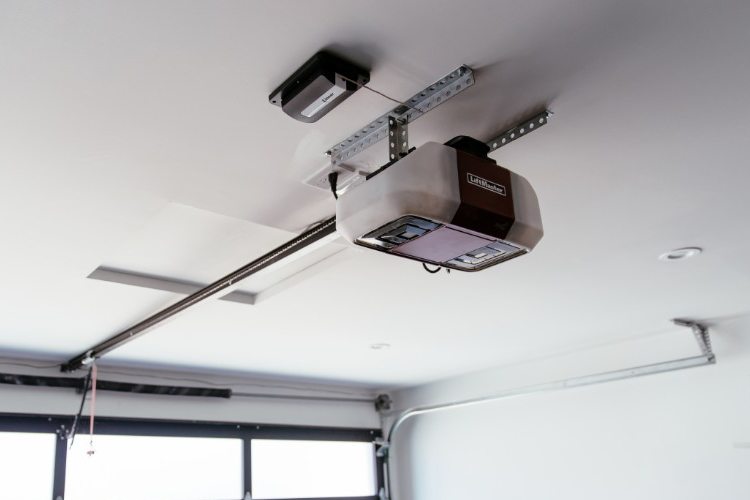
How to Reset a Garage Door Opener Easily

If your garage door remote doesn’t seem to be working properly or you would simply like to wipe the existing code and start again, you will need to reset the garage door opener. This is a relatively easy task that will have been described in detail in the handbook that came with your opener when it was first installed. However, don’t despair if you have since mislaid this handbook as you can probably still reset the opener by following our step-by-step guide below. Prepared by our Broomfield garage door installation team, it covers all of the important steps you will need to take.
Resetting a Modern Garage Door Opener
If you need to reset a modern opener, simply follow these steps and you should be able to achieve your goal without any difficulties:
- Locate the Home / Learn Button – Modern openers have a button labeled Learn or Home, which can normally be found on the main panel. If you have any trouble locating it, you may wish to contact the manufacturer or search for help online. There will almost certainly be other people who have encountered the same problems.
- Depress the Button for Several Seconds – Assuming you’re able to locate the Learn or Home button without any difficulties, you should now push the button and keep it depressed for several seconds. On most openers, you will know when to let go of the button because all the lights will go off as the unit resets itself.
- Test the Keypad and Remote – During the resetting process, your garage door opener will remove (or un-pair) all associated remotes and keypads. After repairing them, you should test the opener to make sure it is functioning properly once more.
That’s all there is to the process of resetting a modern opener in the USA today. If you happen to have an older variety that works on radio frequencies, you will need to follow the steps in the next section instead.
Resetting an Older Garage Door Opener
Older garage door openers use radio frequencies that are adjusted by setting DIP switches. If you have such a system, you will need to follow the steps below to reset it:
- Find the Remote DIP switches – Take your remote control and locate the DIP switches. You should find a small series of switches, each of which can be set to one of three different positions, somewhere on the remote.
- Find the Control Panel DIP Switches – If you remove the cover on the main panel, you should see another set of DIP switches.
- Match the Positions of the Switches – All you need to do now is make sure the position of both sets of DIP switches matches perfectly - i.e. that the positions of the switches on the remote reflect the positions of the switches on the central unit 100%. Once you have made any necessary changes to ensure this is the case, everything should work as intended.
- Test the Remote – Having matched the switch positions, you can now test the remote to confirm it is working properly.
And that’s all you need to do if you find yourself having to reset an older overhead door opener. If you cannot get it to work by following the above steps, you should contact either the manufacturer or the company that installed it for you, assuming they are still in business. Failing that, look for a company that offers a local repair and maintenance service and ask them to come and take a look at it for you.
A New Garage Door Installation in Parker or Broomfield
If your opener is beyond repair and the door itself has seen better days, we would like to invite you to contact us to discuss your options with a member of our garage door sales team. If you are in the same part of the country as we are, it would be our pleasure to visit your home, prepare a quotation and provide you with our professional advice if desired.
Whether you need a new door or help with an old door opener, we’re always just a phone call away.